Video and text guide to setting up Trailer Reverse Guidance in a Ford
How can you set up Trailer Reverse Guidance in a Ford vehicle? This convenient feature will help you line up a trailer behind your vehicle. You can find vehicles equipped with it here at Sherwood Ford in Sherwood Park, AB. Below, we have a video and text guide to setting up Trailer Reverse Guidance.
Steps to setting up Trailer Reverse Guidance in your Ford
If you prefer a visual lesson, skip this text guide and check out the video. Both will provide the same instructions. Here are the steps you can take to setting up Trailer Reverse Guidance in your Ford.
- Gather the necessary supplies.
You’ll want to have your supplied quick-start setup guide, your measurement card which came with the guide, a tape measure, a pen or pencil, an assistant, and the checkered sticker that comes with your guide.
- Connect your vehicle to your trailer.
Do this on a level surface. A drawbar with the appropriate rise or drop can be used to improve the positioning.
- Line up your vehicle with the trailer.
Do this by driving your vehicle forward. If you drive straight for a bit, the trailer will line itself up.
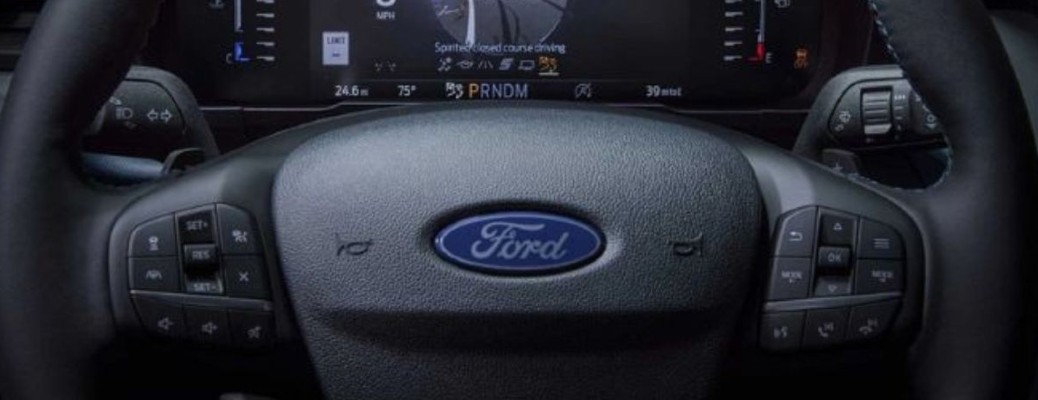
- Use steering wheel controls to select the towing menu.
You can see this on your instrument panel.
- Select Trailer Setup.
Use the steering wheel controls to make your selection.
- Select Add Trailer.
Hit OK when this option is highlighted.
- Make a name for the trailer.
This will be how the trailer is identified in the system, so make it something you will recognize. Use the steering wheel controls to spell out a name. The right arrow advances to the next letter. Press OK when you have the correct name.
- Select your trailer’s brake types.
There are two options that will appear on the screen. Press OK when you highlight the correct one.
- Follow the screen instructions to answer the next questions in the same way.
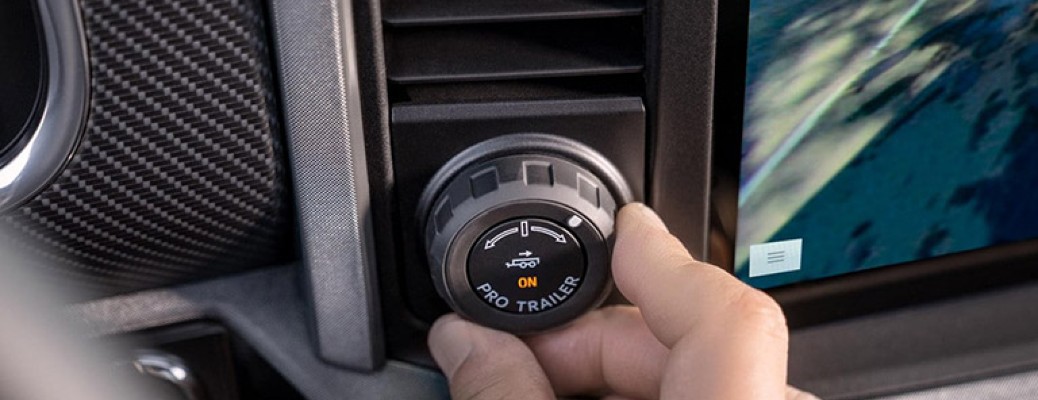
You will be asked to select the trailer’s brake effort and hitch type and decide whether you want to use the BLIS (Blind Spot Information System).
- Select yes when it asks if you want to add Trailer Reverse Guidance.
It might prompt you to drive forward more if your trailer isn’t straight. Follow these instructions.
- Place the checkered sticker on your hitch.
You’ll want to use the measurement card to place it within 17 cm and 51 cm of the center of the trailer hitch ball.
- Use the tape measure to record measurements.
Measure the distance from the license plate to the hitch ball, from the hitch ball to the sticker, from the rearview camera to the sticker, from the tailgate to the trailer axle for single-axle trailers, or from the tailgate to the midpoint between both axles for double-axle trailers.
- Input the measurements into the system.
The system will let you know which measurement it is asking for. Use the steering wheel controls. Confirm when they are all correct.
- Follow the directions for driving the vehicle forward.
You’ll need to stay at a slow pace of between 6 and 39 km per hour. It will let you know when calibration is complete.